4 Steps To Integrate APIs in Vanilla JavaScript
Learn to Work with APIs Using Pure JavaScript
Software Engineer & Technical Writer
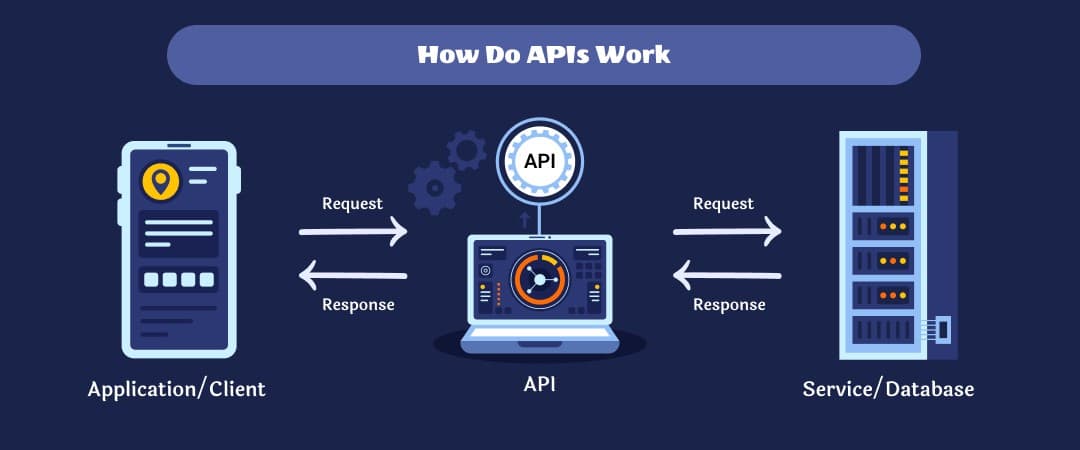
APIs, or Application Programming Interfaces, allow you to interact with external data sources and retrieve information to use in your own application. In this tutorial, I'll show you how to work with APIs using Vanilla JavaScript.
Before we get started, it's important to have a basic understanding of HTTP requests and responses. HTTP requests retrieve information from a server, while HTTP responses are what the server sends back.
Step 1: Making an HTTP Request
To make an HTTP request in Vanilla JavaScript, we'll use the fetch() function. This function returns a Promise that resolves to the Response object representing the response to your request.
Here's an example of a simple GET request:
fetch('https://api.example.com/data')
  .then(response => response.json())
  .then(data => console.log(data))
  .catch(error => console.error(error));
This code makes a GET request to the https://api.example.com/data endpoint and logs the JSON data it receives.
Step 2: Adding Request Options
In some cases, you may need to add options to your request, such as headers or a request body. You can do this by passing an options object as the second argument to the fetch() function.
Here's an example of a POST request with a request body:
const options = {
  method: 'POST',
  headers: {
    'Content-Type': 'application/json'
  },
  body: JSON.stringify({
    name: 'John Doe',
    email: 'john.doe@example.com'
  })
};

fetch('https://api.example.com/register', options)
  .then(response => response.json())
  .then(data => console.log(data))
  .catch(error => console.error(error));
Step 3: Handling Responses
Once you've received a response from the server, you'll need to process it to get the data you want. In this example, we're using response.json() to convert the response to a JSON object.
You'll also want to handle errors, in case something goes wrong with the request. We're using the catch() method to log the error to the console.
Step 4: Adding Error Handling
To ensure your application is robust and reliable, it's important to add proper error handling.
Here's an example of how to handle different HTTP status codes:
fetch('https://api.example.com/data')
  .then(response => {
    if (!response.ok) {
      throw new Error(`HTTP error! status: ${response.status}`);
    }
    return response.json();
  })
  .then(data => console.log(data))
  .catch(error => console.error(error));
In this example, we're using the response.ok property to check if the response's status code is in the 200-299 range (indicating a successful response). If the response is not OK, we throw an error with the status code.
Examples to illustrate working with APIs using Vanilla JavaScript:
Example 1: Retrieving data from a REST API
fetch('https://jsonplaceholder.typicode.com/posts')
  .then(response => response.json())
  .then(data => {
    console.log(data);
    data.forEach(post => {
      console.log(post.title);
    });
  })
  .catch(error => console.error(error));
In this example, we're using the fetch() function to make a GET request to the https://jsonplaceholder.typicode.com/posts endpoint, which returns a list of blog posts. We're then using the response.json() method to convert the response to a JSON object and log the data to the console.
Example 2: Adding query parameters to a GET request
const searchTerm = 'javascript';

fetch(`https://api.example.com/search?q=${searchTerm}`)
  .then(response => response.json())
  .then(data => console.log(data))
  .catch(error => console.error(error));
In this example, we're making a GET request to the https://api.example.com/search endpoint, with a query parameter of q=javascript. We then log the JSON data returned by the API to the console.
Example 3: POST request with a JSON request body
const options = {
  method: 'POST',
  headers: {
    'Content-Type': 'application/json'
  },
  body: JSON.stringify({
    title: 'My First Blog Post',
    body: 'This is the body of my first blog post.'
  })
};

fetch('https://jsonplaceholder.typicode.com/posts', options)
  .then(response => response.json())
  .then(data => console.log(data))
  .catch(error => console.error(error));
In this example, we're making a POST request to the https://jsonplaceholder.typicode.com/posts endpoint with a JSON request body containing the title and body of a blog post. We then log the JSON data returned by the API to the console.
Example 4: PUT request to update an existing resource
const options = {
  method: 'PUT',
  headers: {
    'Content-Type': 'application/json'
  },
  body: JSON.stringify({
    id: 1,
    title: 'My Updated Blog Post',
    body: 'This is the updated body of my first blog post.'
  })
};

fetch('https://jsonplaceholder.typicode.com/posts/1', options)
  .then(response => response.json())
  .then(data => console.log(data))
  .catch(error => console.error(error));
In this example, we're making a PUT request to the https://jsonplaceholder.typicode.com/posts/1 endpoint with a JSON request body containing the updated data for the blog post with an id of 1. We're then logging the JSON data returned by the API.
That's it!
You now know how to work with APIs using Vanilla JavaScript. You can use this knowledge to retrieve data from external sources and integrate it into your own applications.
I'd love to connect with you via Twitter & LinkedIn
Happy hacking!